When changing a light fitting, there can be a variety of problems that make the job more difficult. Looking online for a guide on HOW TO CHANGE A LIGHT FITTING may not give you the answers you are looking for. The instructions supplied may be absolutely useless, and you may not know which switches to turn off at the consumer unit. There is a safe way to change a light fitting; however, it usually involves equipment that is not readily accessible to your average DIY person and some electrical testing knowledge that is not common knowledge. Below is an outline of the general steps that are taken along with the testing required.
Isolate the Light Fitting
Perform the safe isolation procedure. This involves asking for permission to isolate the supply, using an approved lock-off device, and ensuring that once the supply is locked off, you are able to PROVE that the supply is dead. A proving unit is a great way of ensuring that your GS38 approved voltage indicator is working correctly. Alternatively, you can check the approved voltage indicator on a known supply and then check that the power has been safely isolated, then recheck to ensure no fuse has blown inside the device. The supply should be locked off, and a sign applied. If you are at all unsure of safe isolation procedures, it's best to look it up and make sure you are familiar with this before commencing electrical work.
Double Check For Safety
Once you are satisfied that the supply is isolated and cannot be re-energized, it is time to begin work. I always double-check the circuit I am working on is dead using the approved voltage indicator, EVEN IF the supply has been locked off at the consumer unit. There are occasions when circuits can still be live, fed from somewhere else, or have dual supplies in older buildings with questionable electrical installations. If you are unsure how to check for voltage on a circuit that you are working on, consult a professional.
Check the Wiring on the Old Light Fitting
Just before completely removing the old light fitting from the ceiling, it’s a great idea to check how it was wired. Even now, I always tape up the switched live cable to ensure I get it right when reinstalling the new light. I also like to check the manufacturer’s instructions for the new light to make sure that it can be safely fitted into the new position and that I have everything I need for the job. When installing a Class 1 Metal light fitting, it’s especially important to check earth continuity to ensure that, in the event of a fault, the lighting circuit will safely disconnect via the protective device in the consumer unit. If you are unsure how to check for circuit protective conductor continuity, then it's best to look this up online and also ensure you have the correct test equipment to check for this. A low resistance ohmmeter is needed or, more popularly, a multifunction tester.
Remove the Old Light Fitting
Fully remove the old light and discard it in accordance with WEEE regulations. Consult the new light fitting instructions for the manufacturer’s guidance on the safe installation of the fitting. Many wiring systems in the UK utilize a 3 plate or “loop in loop out” method of wiring at the ceiling. In this case, it may be impossible to install the new light fitting to the manufacturer’s instructions without further work. The loop in loop out method at the ceiling will mean you have a minimum of 9 individual wires to contend with, and that is if there are no extra lights on the same switch or power feeds taken from there for other electrical accessories on the circuit. (If you already have a single cable containing switched live, neutral, and CPC coming through the ceiling, then go to step 5).
If in Doubt...Call an Electrician
Many light fittings require there to be a single twin and earth connection or 3 wires entering the light fitting. As such, it is impossible to achieve this without creating a junction above the light fitting. Electricians will know the pain of this and the nightmares we sometimes have with these types of wiring systems and fittings.
At this point, it may be easier to contact a professional for help or advice. In many cases, a maintenance-free junction may need to be created above the light with a single cable entering to power the fitting. If you are unsure how to create a maintenance-free junction above the light fitting, then it's best to consult a professional.
Fix the Bracket
Once the junction is created above the fitting and the single sheathed cable is coming through the ceiling, it’s time to fix the bracket for the light fitting or backplate to the ceiling. Care should be taken to ensure that cables are not pinched or damaged by the bracket, backplate, or screws, and the firmness of the fixing should be tested by a tug on the bracket or backplate once installed.
Different ceiling materials will require different fixings in order to correctly secure the light fitting, and care should be taken to ensure the right fixings are used. Where possible, at least one of the fixings should attach to a wooden joist above.
Wire the Light Fitting and Test for Safety
Wire up the fitting as per the manufacturer’s instructions. Check the CPC (earth) continuity back to the consumer unit to ensure the circuit will disconnect in the event of a fault and finish the installation of the fitting. It may be necessary to consult an electrician to carry out some checks and testing for you if you do not have the equipment or knowledge to carry out the required testing and electrical safety checks.
Consideration should be given to BS7671 and whether the completion of a Minor Electrical Installation Works Certificate is appropriate and the necessary testing required to sufficiently complete the document.
Turn on the Power
Once the checks have been completed and the test results are satisfactory, indicating that the circuit is safe to re-energize, then the warning tags and lock-off device can be removed, and the circuit can be re-energized, and functional tests carried out. In this case, the obvious functional test is to check the light turns on and off with the switch in the room.
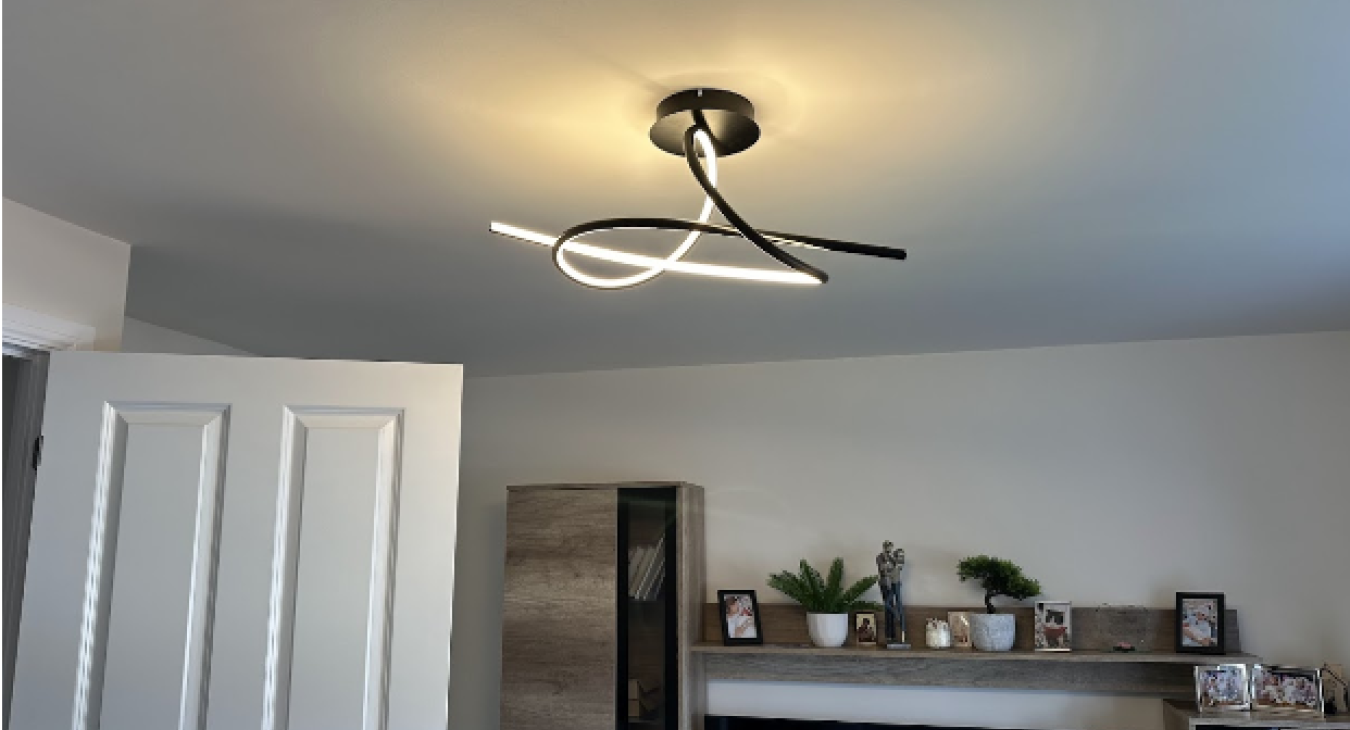
Light Fitting Installation Wixams and Bedford
As we can see, even a seemingly simple light fitting swap is probably best left to the professionals who have the tools, experience, and knowledge to carry out the swap, testing, and certification of electrical jobs. There are many hidden dangers when working with electricity, and only a professional can carry out the necessary checks to ensure they are working safely and in accordance with all regulations.
This is not intended as a DIY “how to” guide but rather an indication of the steps that are normally taken when a professional undertakes such a task. There are many different guides and videos on the internet regarding HOW TO CHANGE A LIGHT FITTING, but there is no substitute for experience, knowledge, and safe working practices when it comes to electricity. The step-by-step guide above is by no means perfect, and every electrical installation is different, so it may not apply to all.
At NRG Electrical Installation Services, we see many DIY attempts that have gone wrong. Thankfully, injuries are not frequent but still occur. We would rather you use a professional to carry out your electrical works, and the best way to find your local professional is to check the NICEIC website to find your local qualified electrician. We are always happy to undertake the task for you if you are in Wixams and Bedford.
Contact us today.


